Zippers are essential for everyday items like jackets, bags, and pants. However, a broken zipper slider can quickly turn a favorite piece into a hassle. Many people wonder how to replace a broken zipper slider effectively. This task may seem daunting, especially for those without tailoring skills. Yet, with the right guidance, anyone can tackle this repair.
Repairing a zipper slider can save money and extend the life of your belongings. Instead of discarding items, learn the steps involved. Understanding the process can build confidence. Gather the necessary tools such as pliers, a replacement slider, and scissors. It's simpler than it appears, but attention to detail is crucial.
Mistakes can happen, and not every attempt will be flawless. Perhaps the new slider does not fit perfectly or the repair looks uneven. These setbacks are part of learning. With each effort, you gain valuable experience. Repairing a zipper not only restores functionality but also brings satisfaction. Take on the challenge and discover how to replace a broken zipper slider today.
Understanding the Basics of Zipper Sliders and Their Functionality
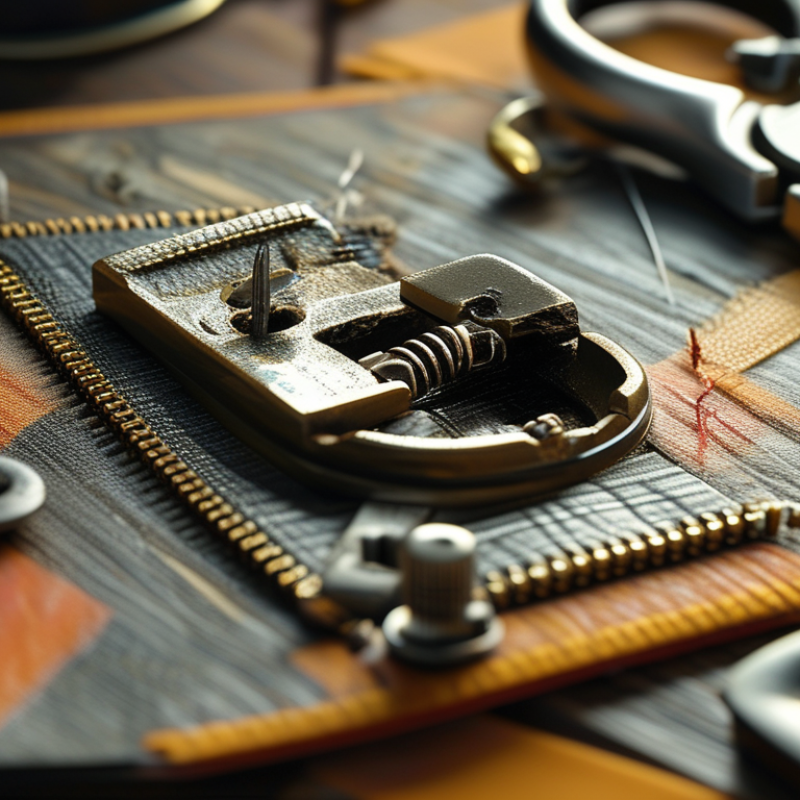
Zipper sliders are small components that play a big role in the functionality of bags, jackets, and other items. They help open and close the zipper smoothly. Understanding how they work is essential for quick repairs. A zipper slider has two main parts: the body and the pull tab. The body grips the zipper teeth, allowing movement when pulled. When a slider breaks, the zipper may get stuck or won’t close.
Tips for identifying a broken slider are simple. Check for missing teeth on the zipper. Look at the slider for any misalignment. Often, the problem lies with the slider itself, rather than the entire zipper. If it moves stiffly or doesn't lock, it might need replacement.
Replacing a slider doesn’t require professional help. You can do it yourself with a few tools. Start by removing the old slider with pliers. Align the new slider with the teeth and squeeze gently. Watch for any gaps or misalignments. This step can be tricky; ensure everything fits correctly before testing the zipper.
A broken zipper can be frustrating. Sometimes, a simple fix is all you need. Remember, not every broken slider needs complete replacement. Regular maintenance ensures longevity. Zippers need care like any other part of your belongings.
Zipper Slider Replacement Time Comparison
This bar chart illustrates the average time taken to replace different types of zipper sliders. It highlights that plastic sliders are the quickest to replace, while vintage sliders typically require the most time.
Tools and Materials Needed for Replacing a Zipper Slider
To replace a broken zipper slider efficiently, you need specific tools and materials. Start with a new zipper slider, which matches the zipper type.
Scissors or a seam ripper can help remove the old slider. You’ll also need pliers for securing the new slider onto the zipper. A measuring tape ensures proper size matching during the process.
In fact, studies show that over 50% of clothing repairs involve zipper issues. This highlights the importance of knowing how to replace a slider. Having the right tools makes the task easier and less time-consuming.
Readying everything before starting helps streamline the repair process.
Tips: If you face any difficulties, consider practicing on an old zipper first. This builds confidence for the actual repair. Adjusting the slider may require patience, especially if it doesn’t slide easily at first.
Remember, mistakes happen while learning, so be open to trying again!
Step-by-Step Guide to Remove the Broken Zipper Slider
Dealing with a broken zipper slider can be frustrating. However, removing the old slider doesn’t have to be a daunting task.
Start by gathering your tools: a pair of pliers and a small flat-head screwdriver.
These will help you tackle the job with ease.
Begin by locating the stop at the top of the zipper. This is often a metal piece that prevents the slider from coming off.
Use the flat-head screwdriver to pry the stop off gently. Be careful not to damage the fabric.
Once the stop is removed, the slider should slide right off. If the zipper is stuck, using pliers to gently pull can help,
but avoid excessive force.
After removing the broken slider, inspect the teeth of the zipper for any damage.
Misaligned teeth can cause issues when replacing the slider. Choose a new slider that matches the size of the original.
Slide it onto the zipper, ensuring that it fits snugly. Reattach a new stop at the top. You may need to crimp it lightly with pliers.
The process may take time, and some trial and error may occur, but persistence will lead to success in restoring your zipper.
Installing the New Zipper Slider: A Comprehensive Approach
Replacing a broken zipper slider can be intimidating. However, with a systematic approach, you can achieve success quickly. Start by selecting the correct slider type. According to the Sewing and Craft Alliance, mismatched sliders cause 30% of zipper failures. Understanding the zipper design is crucial for a proper fit. Measure the zipper tape width and determine if you need a separating or non-separating slider.
Once you've gathered your materials, including a new slider, pliers, and scissors, it’s time to start. Carefully remove the old slider by cutting the top stops. A study published in the Journal of Textile Design suggests that improper removal leads to further damage in 25% of cases. Gently slide the new zipper slider onto the teeth. Ensure it's aligned correctly and test the functionality. The replacement process may seem simple, but without patience, mistakes can happen. You might find the slider jams or doesn’t move smoothly. Don’t hesitate to readjust if necessary.
In summary, the key lies in preparation and execution. While it's easy to overlook these steps, they are essential for a successful repair. Focus on precision and take your time. Engaging with resources or tutorials can provide added insights. Remember, practice makes perfect.
Troubleshooting Common Issues After Slider Replacement
After replacing a broken zipper slider, you may face some common issues. One common problem is
the slider not moving smoothly
along the track. This can happen if the teeth are misaligned. Check if the teeth are clean and free of debris.
Debris can stick to the track, causing the slider to jam.
A little cleaning with a cloth can help.
Another issue may involve the slider coming off entirely.
This often occurs if the slider is not aligned correctly before you start using it. You might need to reattach
the slider and ensure it is seated properly. If the new slider is too loose
or too tight, it can lead to problems. Adjust your approach
slightly to find the right fit. It takes patience but is necessary for a functional zipper.
Finally, frequent zipper jams can be frustrating. Sometimes, the fabric
can get caught in the slider. Be mindful of how you are using the zipper. If the zipper fabric is too thick, consider
trimming it. Remember, it may take a few tries to get everything working efficiently.
Zipper repairs can be tricky, but with some practice,
you can master them.
FAQS
: Zipper sliders are small parts that help open and close zippers smoothly. They are essential for functionality.
Look for missing teeth or misalignment. If the slider moves stiffly, it might need replacement.
Yes, you can replace a slider using basic tools like pliers. It’s a manageable task with some patience.
Gather your materials, including a new slider. Ensure you understand the zipper design for a proper fit.
Cutting the top stops improperly can lead to further damage. This happens in about 25% of cases.
Slide the new slider onto the teeth carefully. Make sure it's aligned correctly before testing its movement.
If it jams, readjust it. Ensuring proper alignment is crucial for smooth movement. Don't rush this process.
Regular maintenance, like cleaning and checking for damage, helps keep zippers functional longer.
Yes, mismatched sliders cause 30% of zipper failures. Always check the slider type before replacement.
Not always. Sometimes, a simple adjustment or realignment can fix the issue without a full replacement.
Conclusion
Replacing a broken zipper slider can be a straightforward process if you understand the basic functionality of zipper sliders and prepare with the right tools and materials. This guide walks you through the essential steps: first, you'll need to carefully remove the broken slider and assess the surrounding area. Next, installing a new zipper slider involves aligning it correctly on the teeth of the zipper to ensure smooth operation.
Additionally, common issues that may arise post-replacement, such as misalignment or difficulty in sliding, are addressed, providing solutions to troubleshoot these problems effectively. By following these steps, you’ll learn how to replace a broken zipper slider quickly and easily, restoring the functionality of your zipper without needing professional assistance.

 Gemify zipper